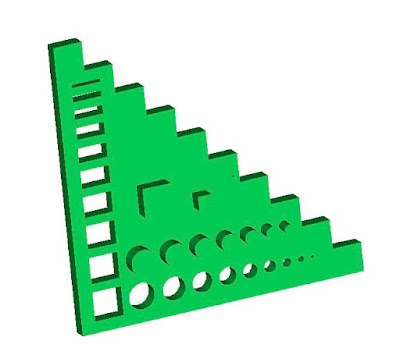
No matter what I did, I could not get a manifold object that could be exported as an STL file. Eventually I reduced the problem to the fact that AOI cannot do a simple boolean subtraction of two rectangular cubes correctly.
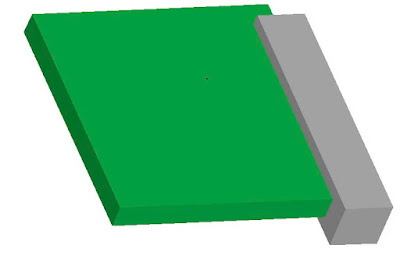
The result looks OK but it is non manifold, I think some of the triangles are the wrong way round.
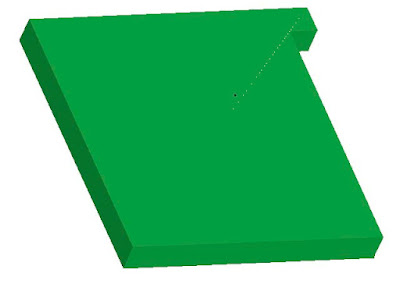
Fixing it with the Solid Editor produces this: -
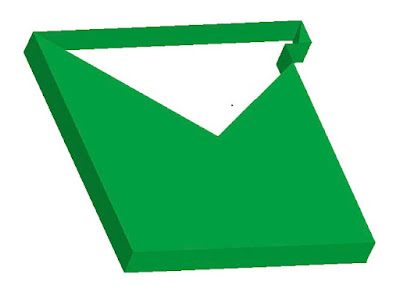
So AOI is not really usable for engineering. It is open source, so theoretically I could fix it myself, but life is too short to fix my own bugs, let alone other peoples. I posted a bug report and moved on.
Speaking to one of my colleagues who does mechanical design for a living, it would seem that professional tools are much easier to use and you don't have to worry about operations on coincident faces, etc. He recommended CoCreate Modeling Personal Edition, which is free for non professional use. It is limited to 60 parts in one design and can only save designs in its own proprietary format, but it can export STL and VRML. It is Windows only and needs an internet connection every three days. It is however, very easy to use. I had a quick look at Google Sketchup and Blender but they did not seem as easy.
The way you model in CoCreate is that you start by drawing in 2D on Workplanes. Workplanes can be arbitrary, but generally are created on a face of the part you are building. The 2D drawing tool is called CoPilot. It shows lots of hints when lines are parallel or line up with things already drawn, and shows dimensions to nearby features. This makes it very easy to create 2D geometry with precise dimensions, or geometrical alignments. You can also draw construction lines to help you line things up.
When you have a 2D profile on a Workplane you can then Extrude it or Turn it to make a solid. This is similar to AOI, except that the 2D drawing in AOI is very primitive and it is hard to get exact dimensions. As well as adding material you can remove it with familiar machine operations like Mill, Bore, Punch, Stamp, Section and Shell. These would all take multiple steps in AOI. CoCreate also has the boolean operations: Unite, Intersect and Subtract, but whereas you have to do almost everything in AOI with booleans, I have not needed to use them so far in CoCreate.
Once you have your basic 3D form it is very easy to add chamfers, fillets, blends, etc, and surprisingly it is also easy to remove them again.
Nothing I have done so far, (including filling a hole with a cylinder of the same dimensions), has managed to create a non manifold shape. It is very quick and easy to make practical objects. Here are a couple of parts I modeled for my experimental z-axis as they appear on screen: -
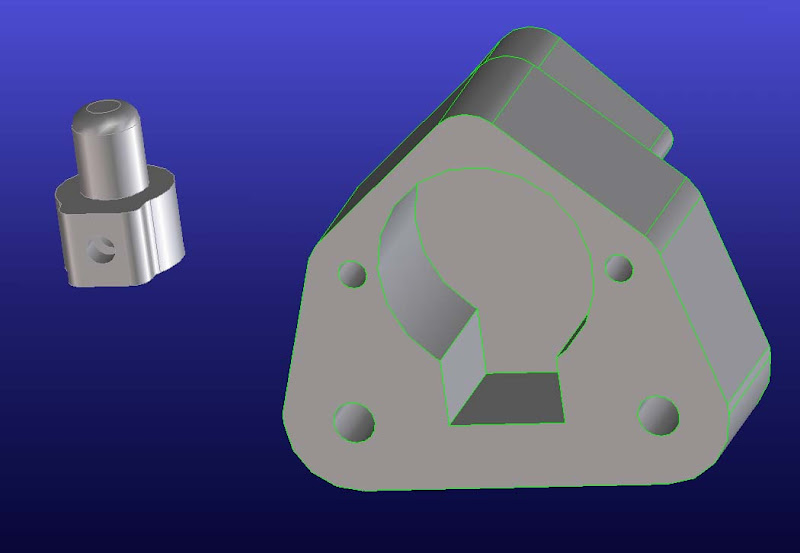
I have no idea how I could have created these in AOI.


