There are a few things about the design that I am not keen on: -
- The beefy motor and timing belt make it expensive.
- The belt tension puts lateral force on the threaded rod, which causes a lot of friction and looks like it will cause the plastic bearings to wear.
- Making the pulleys and splicing the belt seem like tricky things to get right.

When the motors arrived I got a bit of shock at how small they were. Although I had seen photos from Forrest's blog they were about half the size I had imagined. They are lowish inductance and large step angle (15°) so they can go very fast.
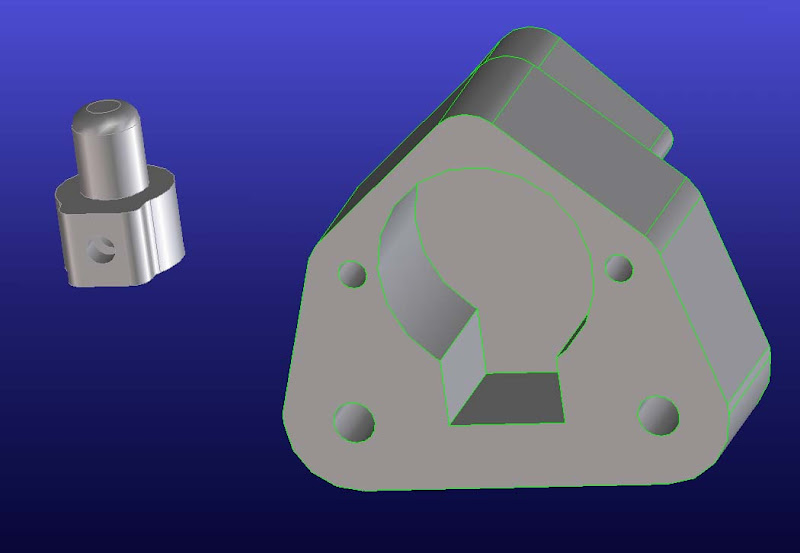
I designed a bracket to hold the motor and mate up with the Darwin corner bracket: -

As you can see there is vast discrepancy between the shaft sizes and one quarter of the weight of the table is born by each of the tiny motor bearings. I was staring to get a bad feeling about the idea.
I had several unsuccessful attempts at making a flexible shaft coupling from ABS: -

None of these were flexible enough or concentric enough. My final design used a piece of plastic piping to get the flexibility.

It has a captive nut for the M3 set screw. The piping is just a friction fit and the rod screws into it.
Even with this design I had a problem with the eccentricity of the hole for the motor shaft.
When you make a hole with fused filament fabrication, the outline of the hole has a start and an end. This causes a bump in the perimeter. Possibly, the outline should end one filament diameter short of where it started, rather than being a full circle. Also each layer should start and end in a different place. When I get chance I will try this.
To remove the bump I ran a drill though the hole. When the hole is as small as this (2mm) the bump displaces the drill leaving the resulting hole off centre. I ended up having to drill them on the lathe, which is cheating.
I mounted the four motors and wired them up in parallel to a micro-stepping chopper drive and a 36V power supply.

I don't like the RepRap scheme of distributing the electronics around the machine so I mounted mine all together at the bottom of the machine on a sheet of perspex. The perspex rests on one of the base diagonals and is held in place by four brackets which clamp around the lower frame.

As soon as I powered it up I realised that the motors had nowhere near enough torque to turn the M8 threaded rods. It wasn't a big surprise, two things that were though:
The motors got ridiculously hot, well over 100°C before I switched them off. The coil resistance is 27Ω which is smaller than some much larger 12V motors, giving a dissipation of about 10W. These look more like 5V motors to me, either that or they are not continuously rated.
I found that my micro-stepping drives don't work well with tin can motors. The micro-steps are very uneven in size. Micro-stepping assumes that the torque displacement curve of the motor is sinusoidal, which doesn't seem to be the case for large step angle tin can motors. Not a big problem in this case as I don't need the extra resolution. I will replace the drive with something simpler when I have got the machine working.
So all in all a big failed experiment! I should have wired up one of the motors before I wasted the plastic making all the mounts.
My fall back plan was to use some larger tin can motors I rescued from a skip recently.

The one on the left is bipolar and the one on the right is unipolar. I decided to try the bipolar ones first, I may switch to the unipolar to simplify the electronics, if they have enough torque.
The shaft coupling was much easier to make because the shaft is bigger (4mm) and has a pin through it. I didn't need to resort to the lathe this time.

I designed and made a new set of motor brackets, they took about 8 hours to print in total.

Here is one motor installed: -

It seems to have plenty of torque for the job. I am waiting for more bolts to arrive to mount the others.
These are not low inductance motors so they won't be as fast as the original single motor design. The large step angle (7.5°) and my 36V supply will help to mitigate this. I originally thought the z-axis speed was unimportant because it moves so rarely, but actually on HydraRaptor I use the z-axis to lift the head 0.4mm when moving between filament runs so it does need to be reasonably quick.
This scheme certainly simplifies the mechanical construction but may not make economic sense. The motors are cheap in large volume (£2-3) but I haven't found a retail price.


