Tuesday, 1 May 2007

On the right path

Having tried a cheap mini drill as a router and found it lacking I ordered a cheap laminate trimmer to try instead. While I was waiting for it to arrive I remembered that I had inherited a Minicraft drill from my aunt.


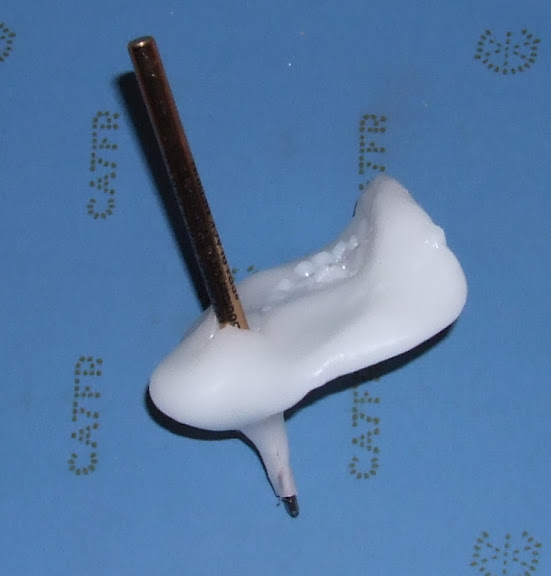
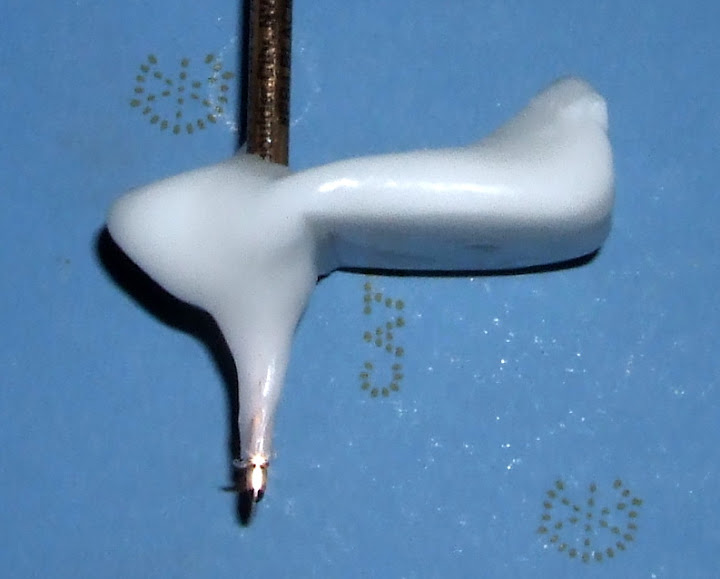
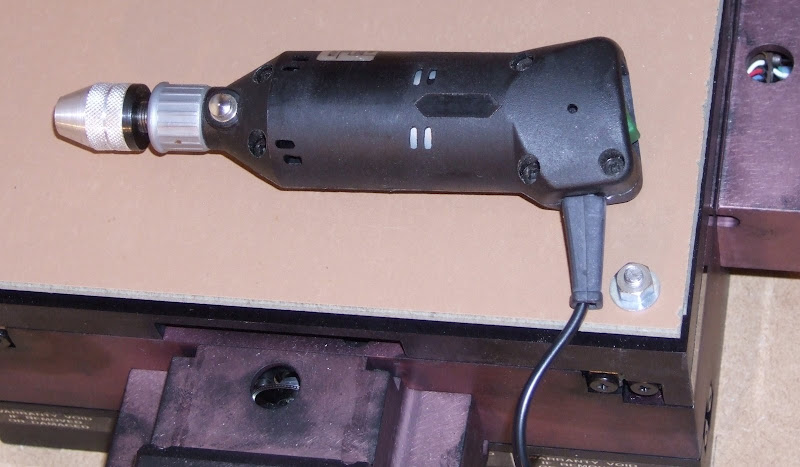
To my surprise this seems quite promising. The bearing is solid and it revs to 20000 RPM without too much noise. It also has the advantage that it is small and light so is suited to a multi-headed machine. I decided to see if I could use the first drill to mill a mount for the new one out of a block of hard plastic. I designed a simple two part clamp using Visio.


I represented the outline of the parts using a couple of Python lists.
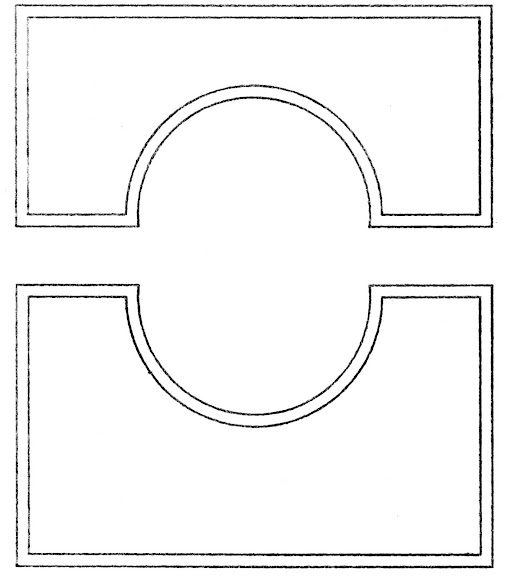
bottom_clamp = [Line(0,34), Line(13,34), Arc(30,34,47,34), Line(60,34), Line(60,0), Line(0,0)]
top_clamp = [Line(0,26), Line(60,26), Line(60,0), Line(47,0), Arc(30,0,13,0), Line(0,0)]
Line and Arc are simple classes with a do method which instructs HydraRaptor to move along the segment. E.g.
class Line:
def __init__(self,x,y):
self.end = (x,y)

def do(self,hydra):
hydra.feedto_xy(self.end)
It was then trivial to get HydraRaptor to draw the outlines with a pen using a for loop :-
for seg in outline:
seg.do(hydra)
However in order to be able to mill it out I need to create a tool path which is offset by the radius of the bit. This is a little harder than it sounds. It is easy enough to offset a line at right angles to its direction but then the ends no longer meet. A new intersection point has to be calculated and a different calculation is required for each possible pair of segment types. I decided to prove to myself that I could still do O-level maths and worked out the equations from scratch. A quick Google afterwards verified that they were correct before coding them up. Here is the "line to line" case http://local.wasp.uwa.edu.au/~pbourke/geometry/lineline2d/ and here is "line to arc" http://local.wasp.uwa.edu.au/~pbourke/geometry/sphereline/. The trick is to represent lines with a pair of parametric equations rather than simply y = a +bx to avoid having special cases for verticals.

Having done that I got HydraRaptor to draw the tool paths with the pen. Here is the result :-


The next step it to actually mill it. I am not sure how I am going to hold the plastic block down yet. I think I will try double sided tape and if that fails contact glue.

Saturday, 28 April 2007

Ever decreasing circles

I wrote some test code in Python to check that my firmware was working properly. This turned out to be incredibly easy using the socket and struct modules. I have not written a lot of Python before but it never ceases to amaze me how much more productive it is compared to C++. Handling the Ethernet UDP comms required only a few lines of code. Here are extracts from the constructor and destructor :-
from socket import *
from struct import *

class Hydra:
def __init__(self, ip_addr):
# Create sockets
self.sendSock = socket(AF_INET,SOCK_DGRAM)
self.sendAddr = (ip_addr,21000)

self.recvSock = socket(AF_INET,SOCK_DGRAM)
self.recvSock.bind(("",21001))
self.recvSock.settimeout(0.1)

def __del__(self):
# Close sockets
self.recvSock.close()
self.sendSock.close()
Below is the code that sends a command and receives the reply. UDP packets are not guaranteed to arrive at their destination and if they do they are not guaranteed to arrive in the same order they were sent in, although on a small single segment LAN they generally do. Packets are protected by CRCs and checksums so if you do receive a packet you can be pretty sure it is not corrupt.

To make a reliable protocol timeouts, retries and packet sequence numbers are required. I also added a 4 byte magic number at the start of each packet just to make sure a stray packet from a rogue application or the Web could not cause HydraRaptor to lose the plot.
    def do_cmd(self,cmd):
tries = 3
while tries:
self.sendSock.sendto('\x12\x34\x56\x78' + cmd,self.sendAddr)
try:
data,addr = self.recvSock.recvfrom(1024)
return data
except timeout:
print "read failed"
tries = tries - 1
raise 'comms failed'
Here is the code to wait for the machine to be ready and then instruct it to go to to a 3D position.
   def get_status(self):
return unpack('>hhhhBB', self.do_cmd('\x00\x00'))

def goto_xyz(self,pos,delay):
while 1:
a, b, c, steps, seq, ready = self.get_status()
if steps == 0 and ready:
break
seq = (seq + 1) & 255
self.do_cmd(pack('>BBhhhh', self.goto_xyz_cmd, seq, pos[0], pos[1], pos[2], delay))
Notice how easy it is to marshal and unmarshal packets using the struct module. The big endian to little endian conversion is handled simply by putting a > sign at the start of the format string.

Below are some test patterns. The 25 circles in the centre are 1 - 25mm radius and are drawn with the minimum number of line segments to keep within 0.05mm accuracy. This is calculated with the formula
π / acos((r - 0.05) / (r + 0.05))
The outer circle is made with 360 line segments.


Not only can I now drive HydraRaptor from a script but I can also interact directly with it via the command line:
>>> hydra = Hydra("10.0.0.42")
>>> print hydra
At (9944,11943,400) steps = 0
>>> hydra.goto_xyz((0,0,0),1000)
>>> print hydra
At (3310,3976,133) steps = 3976
>>> print hydra
At (0,0,0) steps = 0
>>>
I noticed that although the Z axis is repeatable in the short term the distance to the paper varied by about 0.1mm over a two day period. I expect this is due to the MDF expanding and contracting slightly. I plan to make a tool height sensor mounted on the XY table to make it easy to switch tools. This should also compensate for the wood changes.

The next thing to do is use my existing milling setup to make some motor mounts to make an improved milling machine. To do this I will extend my Python script to allow me to define an outline as a list of lines and arcs and then mill around it.

I will then try to make the RepRap FDM extruder with the improved milling machine.

Wednesday, 25 April 2007

Microwaving PolyMorph

Following a discussion in the RepRap forums I decided to find out what happens if you microwave PolyMorph. I placed about 25g in a glass dish together with a mug of water in our 650W microwave oven.


I tried 30 seconds of defrost first which had very little effect. Next I tried 30 seconds of full power. That raised the temperature of the water to 40°C but had little effect on the PolyMorph. A further minute got the water to 60°C and the PolyMorph to 30°C. After another minute the water boiled and the PolyMorph got to 41°C. I replaced the water with cold and heated it for another 2 minutes. At that point the PolyMorph was at 80°C and most of it had melted.


I formed it into a ball and made a new pen holder. At the point where I took this photograph it was still too molten to support the pen.


It took quite a long time to set, longer than my first attempt using hot water. As I kept it pressed against the metal while it was setting it ended up a lot flatter. The result was not pretty because some of the unmelted granules are visible. Also the pen is welded in, whereas it was removable from the other one.


I must admit it looks almost as curved as the first one.


After drilling and bolting the holder to the metal plate the pen is held rigidly again but the holder has shrunk so that the back is about 1mm away from the back of the plate. It is the front edge which locks it in position.

Conclusions: Well I wouldn't recommend microwaving as a way of melting PolyMorph because it is not even enough. The outer edge, where it is in contact with the glass dish, is a lot cooler. Also it does not absorb microwaves anything like as well as water does.

I think most of the shrinking and curling occurs when it first cools down but I can't explain why the first one can no longer be locked in place. Maybe there is some further shrinkage over the long term.